Over the years, I’ve experimented with many types of fermenters—from basic food-grade plastic buckets to more elaborate stainless-steel units. Each new piece of gear brings a fresh sense of hope, and with the BrewBuilt X1 Uni+ Conical Fermenter, that hope translated into real performance. In this brewbuilt x1 uni+ conical fermenter review, I’ll share my hands-on experiences with this sleek, well-built unit and how it has changed the way I approach fermentation.
Why I Chose the BrewBuilt X1 Uni+ Conical Fermenter
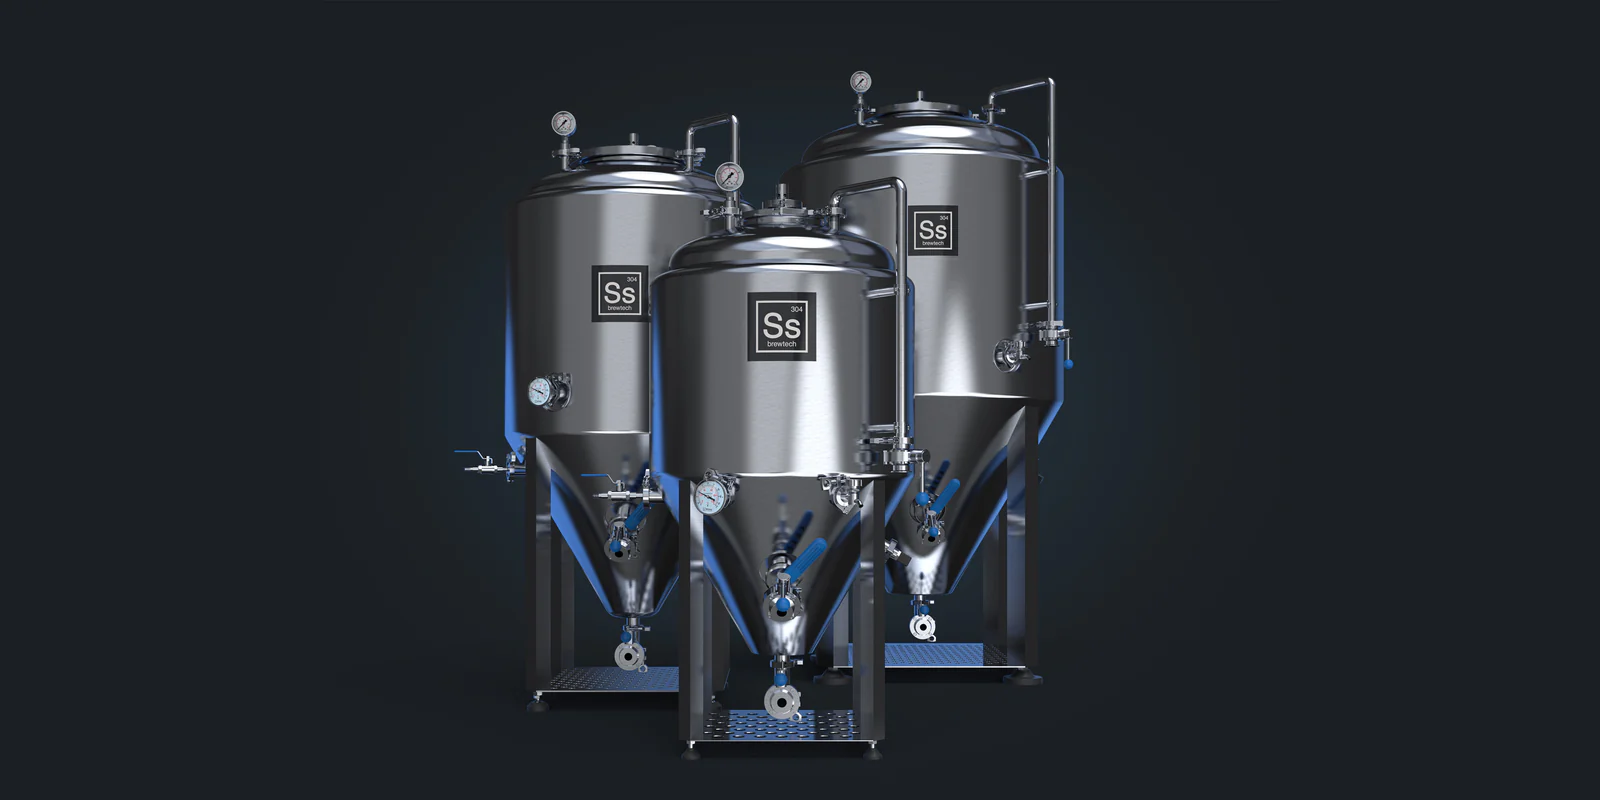
When I began the hunt for a new fermenter, I wasn’t just looking for an upgrade—I was looking for a serious tool that would make a visible difference in my brewing outcomes. I needed something that could offer temperature control, better yeast management, and closed transfers, all while being durable and easy to clean. After comparing several high-end conical fermenters, I was drawn to the X1 Uni+ for its professional-grade features and its stainless-steel construction.
One of the first things I noticed was how much it looked like something you’d find in a microbrewery rather than a homebrew setup. But more importantly, the specifications promised better control over fermentation variables, which is something that mattered deeply to me.
Unboxing and Assembly
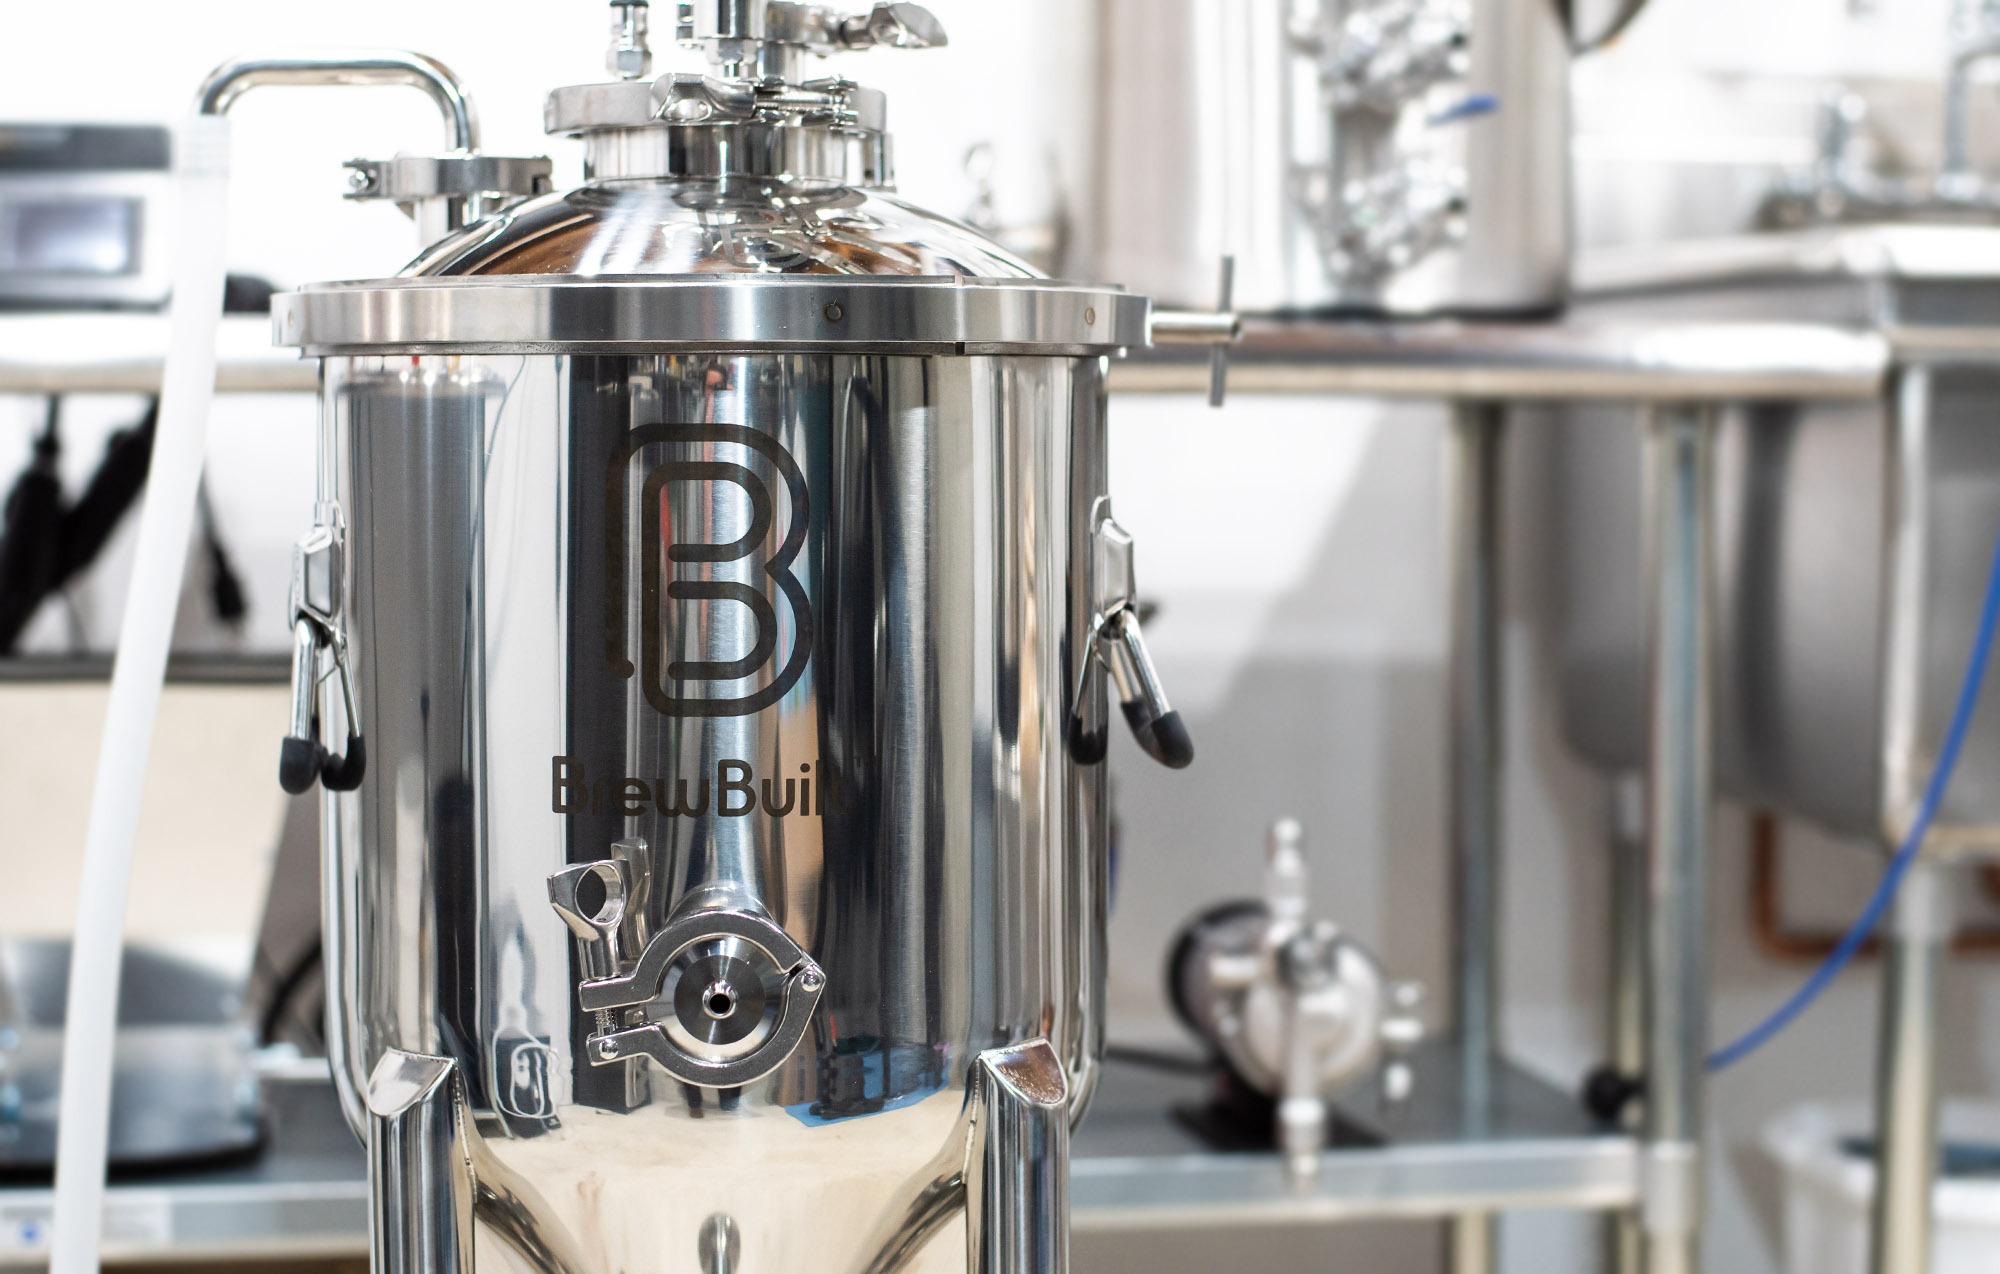
When the fermenter arrived at my doorstep, the packaging alone was a good indication that BrewBuilt takes its craftsmanship seriously. Each component was protected in foam, and nothing arrived dented or scratched. The body of the fermenter was a polished, heavy-duty stainless steel—clean, bright, and clearly designed with care.
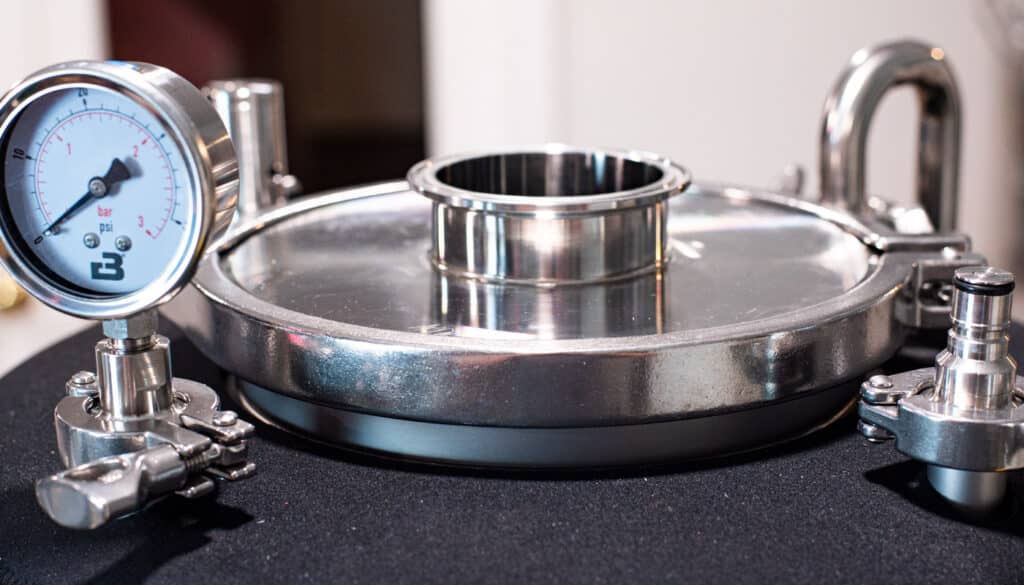
Assembly was pretty straightforward. The instructions were clear, and the tri-clamp fittings made the process much less intimidating than I expected. The wide top opening allowed for easy internal access, which made both setup and eventual cleaning a lot less stressful.
Initial Cleaning and Sanitizing
Before I dared to put any wort inside, I did a full deep clean. This process was easy because of the wide lid and smooth interior walls. There weren’t any awkward grooves or tight corners to worry about. I used a PBW soak followed by a sanitizer rinse, and the stainless surface looked just as polished afterward.
Sanitizing this fermenter quickly became one of my favorite steps—something I never thought I’d say. It felt like I was prepping a piece of lab equipment instead of just rinsing out a bucket.
My First Brew in the X1 Uni+
For the first test run, I brewed a hazy IPA with a lot of hops and a relatively high gravity—something that would really put this fermenter through its paces. Transferring the wort into the X1 Uni+ was smooth and accurate thanks to the interior volume markings etched into the steel. This may seem like a small feature, but it took the guesswork out of how much liquid I had inside.
The conical shape quickly became a game changer. Sediment settled neatly at the bottom without affecting the beer resting above it. No more racking nightmares, no more floating particles ruining an otherwise great batch.
Temperature Stability and Control
One of the key reasons I bought this fermenter was for improved control over fermentation temperatures. The welded thermowell integrated into the X1 Uni+ meant I could rely on precise readings from the center of the liquid—not the surrounding air. I paired it with my glycol chiller setup, and the response was impressive. The beer stayed at my target temp with almost no fluctuation for the full primary fermentation period.
This gave me more confidence in brewing lagers and temperature-sensitive ales—styles I previously avoided because I couldn’t maintain consistency with my old setup.
Dump Valve and Racking Arm Performance
About four days into fermentation, I used the dump valve to remove excess trub and early-settling yeast. This was a first for me, as I’d never used a system with this kind of feature. It was as easy as opening a valve. No mess, no stress, and I was able to keep my beer cleaner without risking exposure or contamination.
The rotating racking arm was just as impressive. Being able to direct the draw above the yeast layer ensured that only crystal-clear beer went into my keg. This was one of those moments where I truly felt like I’d leveled up as a homebrewer.
Dry Hopping Without Oxidation
Dry hopping used to give me anxiety. Exposure to oxygen at this stage can ruin an otherwise great beer. With the pressure-capable lid and tri-clamp accessories, I was able to purge the fermenter headspace with CO2 before adding hops. I even pressure transferred them with a CO2 push to ensure no oxygen ever touched the beer.
This added layer of protection made a noticeable difference in aroma and hop freshness. The final IPA was bursting with character, something I credit to the oxygen-free dry hopping process enabled by the X1 Uni+.
Closed Transfers and Kegging
After two weeks, I was ready to keg. One of the best aspects of this brewbuilt x1 uni+ conical fermenter review is being able to share how simple and clean the transfer was. Using CO2 pressure, I moved the beer from the fermenter into a purged keg without ever opening the system.
No siphons, no air bubbles—just a steady, controlled flow. The beer that came out tasted clean, bright, and exactly as I intended.
Cleaning Up Post-Brew
After kegging, I disassembled the fermenter for cleaning. The tri-clamp components came apart easily, and every piece could be soaked and scrubbed with little effort. I didn’t have to struggle with unreachable spaces or worry about leftover residue. This was a huge contrast to fermenters I’d used in the past that seemed to hold onto odors or stains no matter how much I cleaned.
The BrewBuilt X1 Uni+ cleaned up quickly and dried fast, ready for the next batch without delay. This efficiency made it even more rewarding to brew frequently.
How the BrewBuilt X1 Uni+ Has Changed My Brewing
Before I wrap up this brewbuilt x1 uni+ conical fermenter review, I want to highlight just how much of a difference this unit has made in my brewing process. It’s helped me:
- Control fermentation temperatures precisely
- Minimize oxygen exposure during dry hopping and transfers
- Reduce trub and sediment contact with beer
- Create cleaner, brighter beers with more consistent results
It’s not just a fermenter—it’s a piece of equipment that transforms your approach to brewing.
Is the Investment Worth It?
Let’s address the elephant in the room: this fermenter isn’t cheap. But after brewing a few batches with it, I can say without hesitation that the value it brings justifies the cost. If you’re brewing regularly and care about improving your beer, the BrewBuilt X1 Uni+ delivers professional-grade results without the complexity of a full-scale brewery system.
It’s also modular, so you can upgrade over time. Want to add a pressure kit? Easy. Need to integrate it with a chilling coil or jacket? No problem. It grows with your brewing ambitions.
Final Thoughts
Having brewed several batches in the BrewBuilt X1 Uni+, I can confidently say this fermenter is one of the best brewing investments I’ve ever made. The quality of construction, thoughtful design, and range of features have elevated my brewing game to new heights.
This brewbuilt x1 uni+ conical fermenter review has hopefully given you a real look at what it’s like to use this gear in a homebrew setting. If you’re on the fence and wondering whether it’s worth the plunge, I’ll just say this—once you use it, you’ll wonder how you ever brewed without it.